There are links on this site that can be defined as affiliate links. This means that I may receive a small commission (at no cost to you) if you purchase something through the links provided on this website.
For details Click here.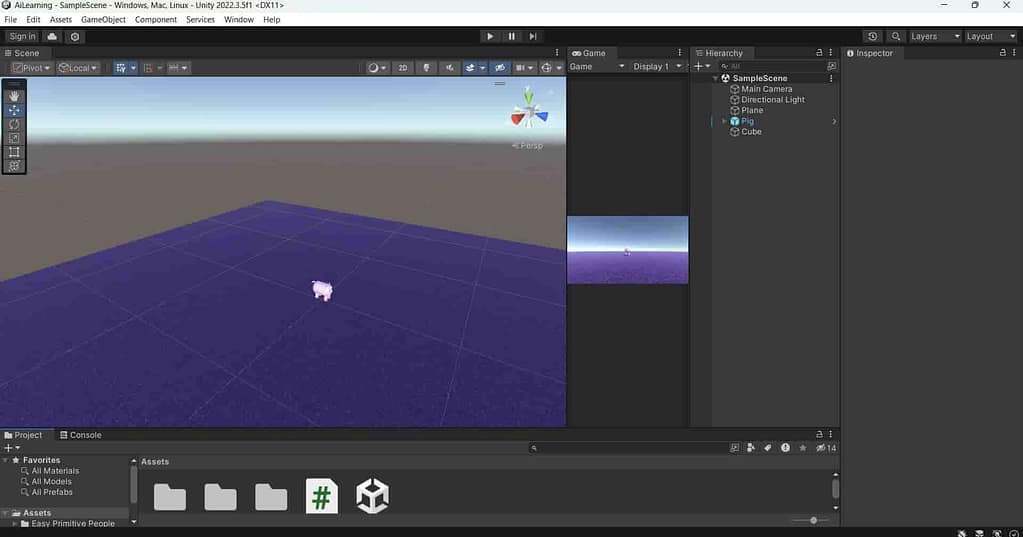
Maximize on play:-
Important Terminologies of Unity part 4 के इस ऑप्शन को करने से आपका जो रनिंग गेम है
वह आपके यूनिटी एडिटर के फुल स्क्रीन को कवर करते हुए रन करेगा
Mute audio :-
इसके जरिए आप अपने running गेम में मौजूद ऑडियो को बंद कर सकते हैं
Stats:-
यह बटन यह पता करता है कि जो गेम चल रहा है उसका स्टैटिसटिक्स स्क्रीन पर रेंडर हो रहा है कि नहीं ।
या स्क्रीन पर उसके फ्रेम रेट दिखाई दे रहे हैं कि नहीं।
Hand tool:-
इसके बाद हम लोग बात कर लेते हैं हैंड टूल की तो जो हैंड टूल आपको अपनी स्क्रीन पर दिख रहे होंगे ।
इन टूल की मदद से हम लोग सीन में मौजूद किसी भी ऑब्जेक्ट के ऊपर ऑपरेशन कर सकते हैं।
जैसे कि ऑब्जेक्ट को छोटा बड़ा कर सकते हैं।
उसका रोटेशन बदल सकते हैं।
उसकी पोजीशन बदल सकते हैं। इस तरीके के और भी काम कर सकते हैं।
इसके लिए आपको अपने कीबोर्ड में शॉर्टकट keys को याद रखना पड़ेगा।
अगर आप अपने कीबोर्ड में q w e r t शॉर्टकट keys को याद रखते हैं।
तो यह शॉर्टकट keys के जरिए ही आप हैंड टूल का आसानी से ऑब्जेक्ट के ऊपर इस्तेमाल कर सकेंगे।
कैमरा :-
इसके बाद बात कर लेते हैं कैमरा की । तो जब आप यूनिटी में काम करते हैं
तो आपको दो तरीके के कैमरे दिखाई देते हैं।
एक कैमरा वह है जो इस समय आपको सीन में दिख रहा है।
इसको स्टैंडर्ड गेम ऑब्जेक्ट कैमरा बोलते हैं।
दूसरे टाइप का जो कैमेरा होता है वह इमेजिनरी कैमरा होता है।
यह इमेजिनरी कैमरा ही होता है जिसकी मदद से आप सीन में कुछ भी देख सकते हैं।
आगे आने वाले चैप्टर में इन कैमरास को आप cinemachine में वर्चुअल कैमरा के रूप में स्टडी करेंगे।
Flythrough mode:-
Important Terminologies of Unity part 4 के अंत मे बात करते हैं फ्लाइट थ्रू मोड की ।
इसका मतलब होता है की आप सीन में किस तरीके से आसानी से मूव कर सकते हैं ।
यह आपको फर्स्ट पर्सन शूटर जैसे गेम की फीलिंग कराएगा।
आपको ऐसा लगेगा कि आप अपने गेम में फर्स्ट पर्सन शूटर जैसा गेम खेल रहे हैं।
इसके लिए आपको अपना माउस और कीबोर्ड के जो इनपुट keys होते हैं,जिसके जरिए आप अपने गेम कैरेक्टर को आगे मूव करते हैं,
उसको आप इस्तेमाल करते हैं।
ताकि आप गेम में किसी भी डायरेक्शन में मूव कर सकें।
